
If you're a crafter, and haven't signed up for T-Shirt Diaries Stashbust, I encourage you to do so. I've really been keeping the pedal to the metal on my sewing machine with the motivation of linking up projects that use up my fabric stash. Any crafting stash is welcome for the stash bust not just fabric.
Not only have I been working my way through my stash, but I've stretched my repertoire out of my comfort zone. I actually made myself a skirt. I don't make clothes. Slipcovers. Check. Aprons. Check. Drapes, shades, tablecloths. Check, check, check. But I don't make clothes. Until now.

How fun is that? It all started with a stripey fabric that my cousin had bought for me to make roll-up shades for her. I made them and looked at the excess fabric, and thought that would make a nice skirt. But who wants to coordinate with someone else's window treatments? Not me. When she and her fiance bought a house and moved, I thought, "ooh now I can make that skirt." But need I remind you, I don't make clothes. So the brown stripey fabric sat for 3 yrs until this stashbust challenge moved my butt in gear.

I wanted to make a fun, flirty, dancing skirt. I had the perfect coordinating scrap fabric in my stash leftover from a purse I made 7 yrs ago. I was enjoying carrying little bags before the baby came, and I knew I'd be back to lugging around giant bags.

This is how I made my skirt. I measured my waist, added 8", and divided by 16. This was the measurement for the top of my pattern. I then freehanded a slight taper and then a larger one for where I wanted the skirt to flare out, drew it on the newspaper fold and cut it out.

I opened up the pattern and cut 8 of them, making sure to line up the fold on a stripe, pin the one side down, and then open it and pin the other side down.

After cutting out all 8 pcs, I stitched together the top sections right up to the notch I created at the flare out.

I pressed open the flared section,

and pinned a piece of the coordinating floral embroidered pleather to the pressed open section.

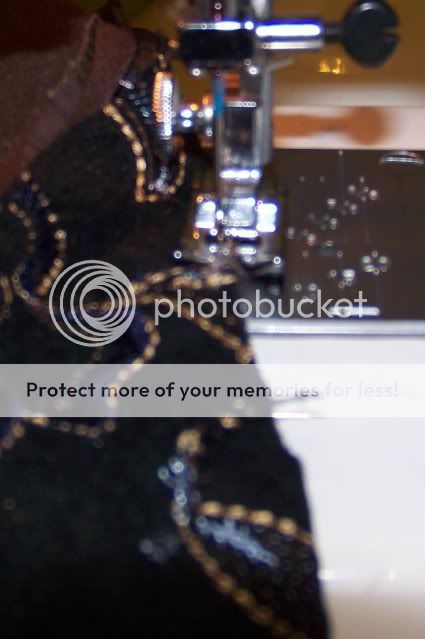
I stitched the 2 fabrics together. If you have a serger, now would be a great time to use it. I don't so I went with a zigzag stitch as close to the edge as I could get it.
I hemmed the top & bottom, creating a pocket for a length of elastic at the top.

I threaded a length of elastic throught the pocket and stitched it to itself in a large loop, then stitched the whole thing closed. The skirt is all business when I don't move, but the fun floral sections play peekaboo when I walk or twirl. Love it.

Thanks for popping in and sewing with me. Check out all the other skirt projects at Not Just a Housewife's Point of View: Skirts Party, and all the other ways bloggers are stretching at The Nester's Take a Risk Day.


From not sewing clothes to drafting your own pattern! Very industrious and brave. Good job!
ReplyDeleteWow you are so talented! I always look forward to reading your posts. Always something good!!
ReplyDeleteYou are one talented gal...love that skirt!!!
ReplyDeleteBlessings,
Linda
Wow! You make your own patterns?!? You are one talented woman! (This from someone who was best friends with her seam ripper during high school home ec. My defining moment came when I sewed my skirt pockets on upside down. Oops.)
ReplyDeletethat is awesome!!! I love it! And the idea to use newspaper is great, I'm always looking for something bigger for patterns, so thanks for the idea!
ReplyDelete