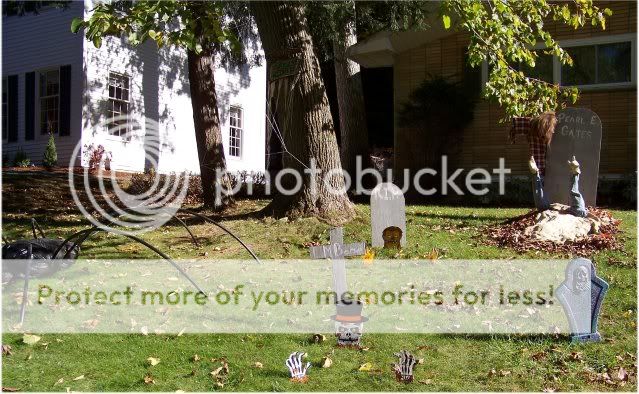
The outside of the house has started the transformation into a spooky graveyard.
I found this sign clearanced after Halloween one year for $1.97. I especially love the tattered cheesecloth tails on it.
This sign is hung under the spiderwebbing which is just about impossible to capture on a sunny day like today.
The gravestones are a mix of wooden ones made in our garage and foam ones from the dollar store. The large grave is made from burlap staked down in the yard with leaves covering up the edges. Pearl(the hands escaping the large grave) is an old flannel shirt from the '90s grunge fad with gardening gloves. The arms are held up by bamboo stakes and filled out by filling the arms up with leaves. The ghoul peeking around the corner of the large grave is another old flannel, old jeans, and a halloween mask filled out with a balloon on a framework of ski poles.
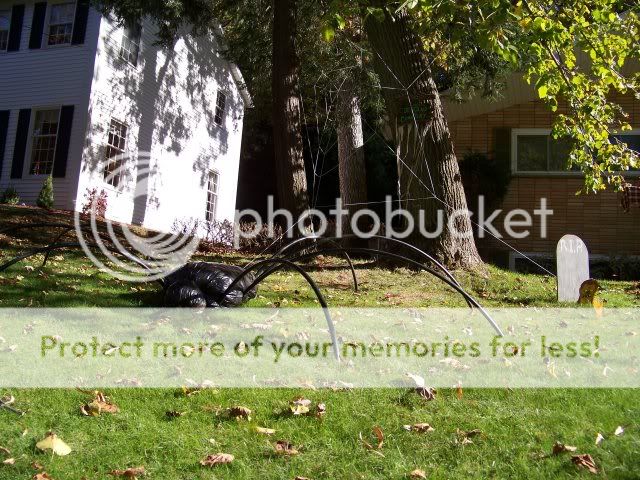
The spiderwebbing between the trees took about 45 minutes. Webs are easy to produce, but this one involved a lot of moving of a heavy ladder and some scary moments precariously perched on the ladder that couldn't find a level spot anywhere near the trees. The web is staked down at the back side of the giant spider.
This spider is created by filling a large garbage bag with those ubiquitous plastic grocery bags. The bags won't compress down in the rain and are the perfect fill material. I used to take the spider bag of bags back to the stores for recycling after Halloween, but now that I've switched over to reusable fabric bags, I just keep my bag spider in the garage. The legs are black plastic tubing from Lowe's. It comes in 40 ft rolls that are easily cut to length and is really cheap.
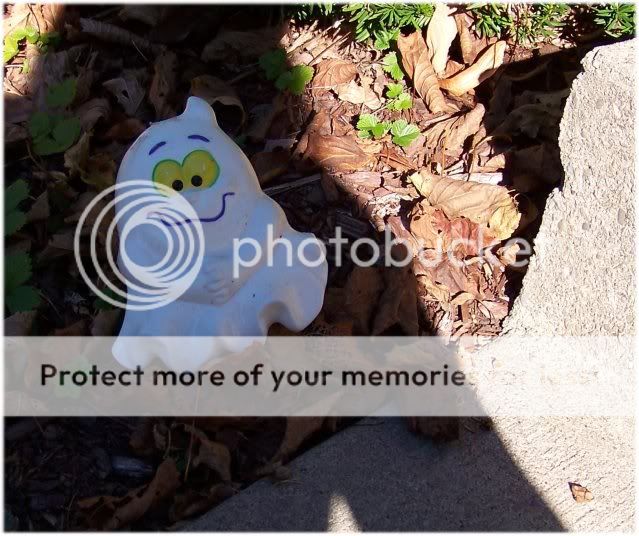
Guests coming up my front steps are greeted with little ghosts to light up their path. I think they're just adorable.
This is a sign at the start of where the garden path leaves the concrete steps.
I like to keep the decor around the steps and front door a little lighter and non-scary, because we have little trick-or-treaters in the neighborhood.
I can't show you the front door, because we haven't gone to the pumpkin patch yet.
I hope you enjoyed the visit to my boneyard. Thanks for popping in.
I'm linking this week to Between Naps on The Porch's Metamorphosis Monday, Funky Junk Interiors' Saturday Night Special, and Craft-O-Maniac's party.


Cute projects!
ReplyDeletecute! and what a spider! My husband would freak if i put a huge spider in the front yard!
ReplyDeleteKimra
http://crafty-cove.blogspot.com
Thanks! The neighborhood kids get such a kick out of the spider, because lots of houses have gravestones, but not many have 10ft spiders.
ReplyDeletegreat fun festive yard. THE SPIDER kicks butt! I love that its spooky and not cheesy too! Jen
ReplyDeleteThat turned out cute. I like the sign on the tree and your big spider.
ReplyDeleteI love the Spider! Could you tell me a little more detail on the type of tubing you use and how it's made.
ReplyDeleteTHANKS!
The black tubing used for the spider is a plastic pipe called ABS pipe(not PVC.) We bought ours at Lowe's and I'd imagine that it's available in most plumbing supply stores or the plumbing section of most hardware stores. ABS is only rated for waste water so it costs less than PVC and CPVC which are rated for hot and cold water. You can buy the 1" pipe in 100' rolls for $26.99 here: http://plumbing.hardwarestore.com/52-297-black-plastic-water-line/non-nsf-poly-plastic-pipe-632899.aspx
ReplyDeleteI'm not affiliated with that site at all. It was just a quick google search.
After cutting your pipe to length, with a hacksaw or pipe cutter, you would arrange the legs around the main body of the spider. I poke holes in the bag of bags so the legs are actually coming out of the body. I use a metal tent stake to start a hole in the ground and push the pipe end into the ground. This keeps it from moving around in the wind.