Showing posts with label moss. Show all posts

Thursday, March 31, 2011

PB Inspired Moss Basket

The Decoupaged Easter Eggs I shared the other day, needed a home.  I knew that I'd be using them on my Spring/Easter mantel, but I didn't want to just set them on the mantel.  They needed a proper nest.  I had a bunch of moss leftover from my Pottery Barn Inspired Moss Monogram, and I went back to the Pottery Barn catalog for some inspiration.  This fantastic basket is $89 in the catalog.

I looked around for an appropriate basket to mossify.  Here's one from a previous Easter.  The basket shape isn't the same, but I love that it's big swooping handle is a similar shape.

I grabbed some more of that dollar store reindeer moss,
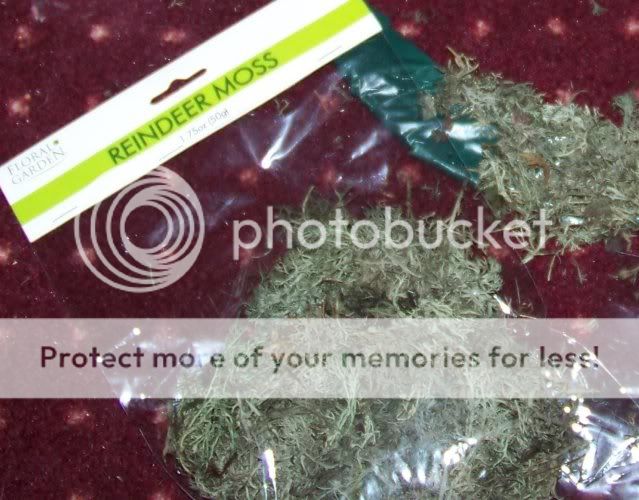
and started up my glue gun.  I glued clumps of moss on, and filled in with random bits.
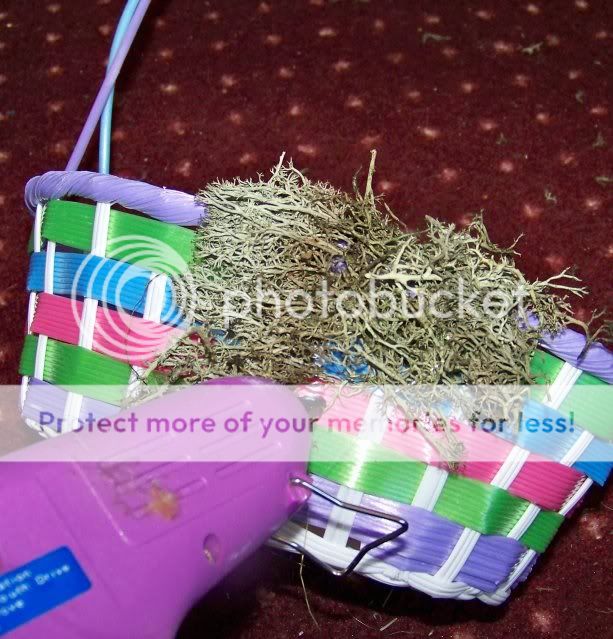
After completely covering the basket and handle, I filled the basket with some spanish moss, also from the dollar store.  And here she is on my mantel(excuse the dust) with the eggs nested inside.  I'm still futzing around with my mantel arrangement, but expect more pics to come.

This entire project, including the eggs, cost about $3 in moss(2 bags of reindeer moss & 1 bag of spanish moss,) although I have tons of the spanish moss left. 

Thanks for popping in and crafting with me.  I'm linking this up to House of Hepworth's Hook Up,  Just a Girl's Show & Share Day, and Decor to Adore's Spring Linky Party.
giveawaysTransformation ThursdayFunky Junk's Saturday Nite Special< http://linda-coastalcharm.blogspot.com/center>Visit thecsiproject.com


Sunday, March 27, 2011

Pottery Barn Inspired Moss Monogram

My front door has been bare since the Christmas wreath came down.  That's a long time to have a naked door.  I love the way that moss says spring, and moss monograms have been absolutely everywhere in blogland.  The original Pottery Barn live moss letters retailed for $77 each.

Carrie over at Dittle Dattle made this one with plywood that she cut with her jigsaw.

I've seen them made with a foam base like this one from WeddingBee.

My jigsaw skills are only so-so, and after my last power tool mishap, Computer Genius would prefer me to do non-power-tool projects.  Foam can be pricey, plus cutting foam is messy, so I looked around for something else to use for my "G."  I came up with this.

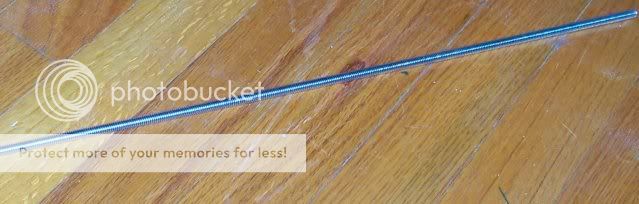
It's a threaded metal rod used for I-have-no-idea-what, but it was less than $5 for a 10 ft length, and could be bent with my bare hands.  I muscled it into a G shape.  I'm a pretty strong chick, and I'll have to admit that bending the ends made me break a sweat.

I wrapped the G in duct tape to create a surface to glue on.

I hit it with some dark green spray paint.  I always have dark green spray paint on hand.  When you have a black thumb, and you look up and notice that your bonsai & succulents are brown & dead - 3 seconds with your trigger finger, and all of a sudden you look like Suzy Homemaker.

I hot glued reindeer moss to the G making sure to overhang the edge a good deal for a heftier looking letter.

It took 2 packets of Dollar Store reindeer moss to cover my very large letter.

I suspended it from a yard of ribbon that I thumbtacked into the top of my door.  My "after" door is definitely not naked anymore.  This whole project cost $7, and completely changed my entry.

Thanks for popping in and crafting with me.  I'm linking this up to Between Naps on the Porch's Metamorphosis Monday, and Censational Girl's Spring Party.
Keeping It Simple http://linda-coastalcharm.blogspot.com/Visit thecsiproject.com