Monday, March 28, 2011

Summer Rolls

We spend so much of our week running around, that it's nice to have a slow interactive meal when we can fit one in.  Summer Rolls fit that bill, and we made time for them the other day.  The kids can make their own right at the table.

First things first - I wash, prep, and cut everything, and place them on the table.  We had leaf lettuce, julienned carrots and cucumbers,  sliced pork loin and shrimp, cilantro, basil, and mint.  I usually also slice up a half an avocado for myself, but the one on the counter wasn't quite ripe enough.

I have a couple of pie plates of warm water at the table, and we wet down our rice paper wraps just before assembling.  Whirling Dervish can do this step on his own, but I dunk the wrap for Snuggle Bunny.  The trick is to spin the rice paper in the water so that each section is only dunked for a couple of seconds.  The water will continue to absorb and soften the paper as it sits on your plate, so you don't want it too wet or it'll end up tearing as you roll it.

Next, you place whatever fillings you want in your summer roll.  SB likes just lettuce, pork, carrots, and cukes - no herbs, and no shrimp.

I like to have everything, except the pork.  The beauty of making these at the table, is that everyone gets to have things their way, or experiment with new flavors.

You begin rolling up the wrap from the bottom, once about a third of the way up, you fold in the sides.
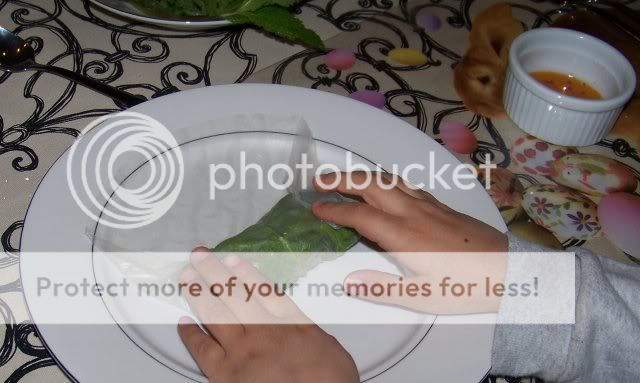
Continue rolling until it's completely wrapped.  SB chooses to eat them plain.  The rest of us dip it in some nuoc mam.  I've always made this sauce like my mom, which is to say with no measuring, but it's about 1/2 cup of fish sauce(also called nuoc mam,) the juice of half a lime, 2-3 tbsps superfine sugar, and 1-2 thai chiles, chopped fine.

WD has had much more practice than SB, and is wrapping his 3rd while SB is enjoying his first of the night.  One note about the nuoc mam dipping sauce - it smells, so I put the one by WD on a plastic Easter placemat just to protect from drips.

Thanks for popping in and dining with me.  I'm joining All The Small Stuff's Tuesdays at the Table, and A Southern Fairytale's Mouthwatering Monday, Kelly the Kitchen Kop's Real Food Wednesdays, and Gluten-Free Homemaker's Gluten-Free Wednesdays.
Hearth and Soul Hop at the Hearth and Soul Hop HubExtreme Personal Measures

Sunday, March 27, 2011

Pottery Barn Inspired Moss Monogram

My front door has been bare since the Christmas wreath came down.  That's a long time to have a naked door.  I love the way that moss says spring, and moss monograms have been absolutely everywhere in blogland.  The original Pottery Barn live moss letters retailed for $77 each.

Carrie over at Dittle Dattle made this one with plywood that she cut with her jigsaw.

I've seen them made with a foam base like this one from WeddingBee.

My jigsaw skills are only so-so, and after my last power tool mishap, Computer Genius would prefer me to do non-power-tool projects.  Foam can be pricey, plus cutting foam is messy, so I looked around for something else to use for my "G."  I came up with this.
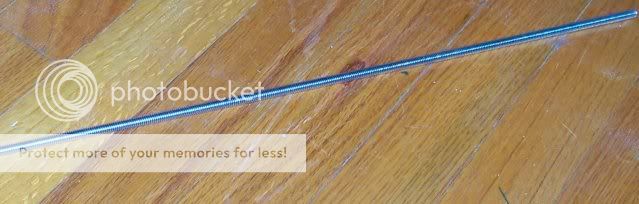
It's a threaded metal rod used for I-have-no-idea-what, but it was less than $5 for a 10 ft length, and could be bent with my bare hands.  I muscled it into a G shape.  I'm a pretty strong chick, and I'll have to admit that bending the ends made me break a sweat.

I wrapped the G in duct tape to create a surface to glue on.

I hit it with some dark green spray paint.  I always have dark green spray paint on hand.  When you have a black thumb, and you look up and notice that your bonsai & succulents are brown & dead - 3 seconds with your trigger finger, and all of a sudden you look like Suzy Homemaker.

I hot glued reindeer moss to the G making sure to overhang the edge a good deal for a heftier looking letter.

It took 2 packets of Dollar Store reindeer moss to cover my very large letter.

I suspended it from a yard of ribbon that I thumbtacked into the top of my door.  My "after" door is definitely not naked anymore.  This whole project cost $7, and completely changed my entry.

Thanks for popping in and crafting with me.  I'm linking this up to Between Naps on the Porch's Metamorphosis Monday, and Censational Girl's Spring Party.
Keeping It Simple http://linda-coastalcharm.blogspot.com/Visit thecsiproject.com

Party Features

Thanks to everyone who linked up at my Before Blogging Throwback Thursdays party last week.  I was so afraid that I'd hear crickets, but you guys linked up and made it a success.  I loved visiting each and every link.  You all are so creative.  Here are a few of my favorites.

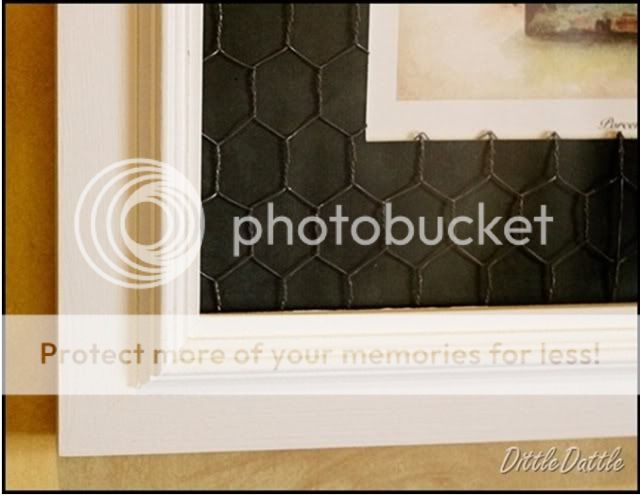
Carrie @ Dittle Dattle linked up her Chicken Wire Rooster Art.  Using chicken wire in the matting of these prints really took them up a notch.

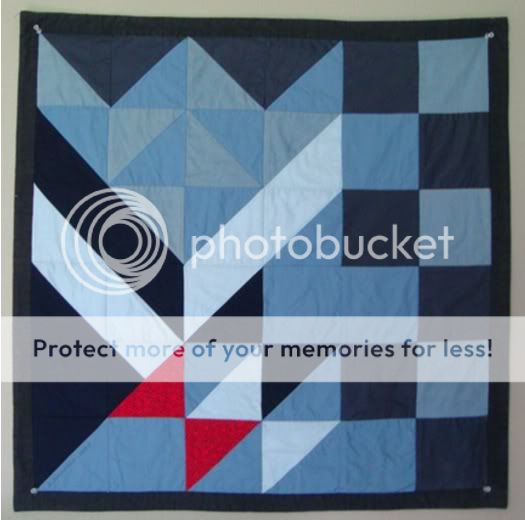
Rhome410 @ Friday is Pizza, Monday is Soup linked up her Quilted Wall Art.  I love that the party helped her to remember how great these pieces are.

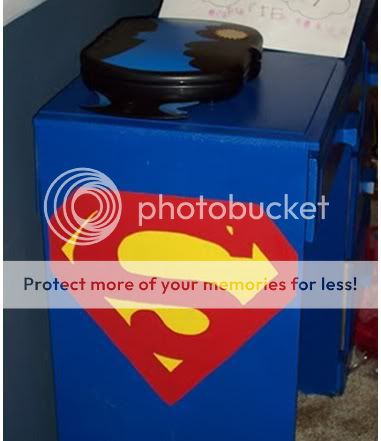
Natalie @ A Turtle's Life for Me linked up her son's former Superhero Room.  Great touches, and I love how fun it is to look back at the little kid pics of a room that's moved on.

And Ellie @ Beauty 4 Ashes linked up her incredible Photo Art.  Go check out her ingenious method of matting the pics.

Thanks to everyone who linked up.  If you were featured, grab a featured button for your sidebar.

Sugar & Spice in the land of Balls & Sticks


Thanks for popping in and checking out these featured projects.  Don't forget to spread the word for next month's party.

Friday, March 25, 2011

Skirting the Issue

If you're a crafter, and haven't signed up for T-Shirt Diaries Stashbust, I encourage you to do so.  I've really been keeping the pedal to the metal on my sewing machine with the motivation of linking up projects that use up my fabric stash.  Any crafting stash is welcome for the stash bust not just fabric.
Not only have I been working my way through my stash, but I've stretched my repertoire out of my comfort zone.  I actually made myself a skirt.  I don't make clothes.  Slipcovers.  Check.  Aprons.  Check.  Drapes, shades, tablecloths.  Check, check, check.  But I don't make clothes.  Until now.

How fun is that?  It all started with a stripey fabric that my cousin had bought for me to make roll-up shades for her.  I made them and looked at the excess fabric, and thought that would make a nice skirt.  But who wants to coordinate with someone else's window treatments?  Not me.  When she and her fiance bought a house and moved, I thought, "ooh now I can make that skirt."  But need I remind you, I don't make clothes.  So the brown stripey fabric sat for 3 yrs until this stashbust challenge moved my butt in gear.

I wanted to make a fun, flirty, dancing skirt.  I had the perfect coordinating scrap fabric in my stash leftover from a purse I made 7 yrs ago.  I was enjoying carrying little bags before the baby came, and I knew I'd be back to lugging around giant bags.

This is how I made my skirt.  I measured my waist, added 8", and divided by 16.  This was the measurement for the top of my pattern.  I then freehanded a slight taper and then a larger one for where I wanted the skirt to flare out, drew it on the newspaper fold and cut it out.

I opened up the pattern and cut 8 of them, making sure to line up the fold on a stripe, pin the one side down, and then open it and pin the other side down.

After cutting out all 8 pcs, I stitched together the top sections right up to the notch I created at the flare out.

I pressed open the flared section,

 and pinned a piece of the coordinating floral embroidered pleather to the pressed open section.

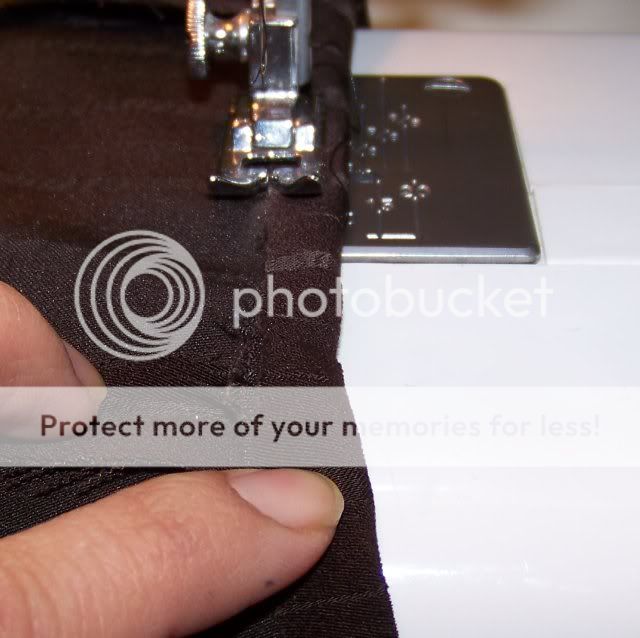
I stitched the 2 fabrics together.  If you have a serger, now would be a great time to use it.  I don't so I went with a zigzag stitch as close to the edge as I could get it.

I hemmed the top & bottom, creating a pocket for a length of elastic at the top.

I threaded a length of elastic throught the pocket and stitched it to itself in a large loop, then stitched the whole thing closed.  The skirt is all business when I don't move, but the fun floral sections play peekaboo when I walk or twirl.  Love it.

Thanks for popping in and sewing with me.  Check out all the other skirt projects at Not Just a Housewife's Point of View: Skirts Party, and all the other ways bloggers are stretching at The Nester's Take a Risk Day.
UndertheTableandDreamingPhotobucketThe DIY Show Off Keeping It Simple