
It's already a week into October and it's time to start thinking about sending out invitations for our Halloween parties. I love doing creative invitations because it sets a festive mood for a party right when the envelope is opened. I'm thinking about using the toetag invites from one of my favorite blogs Adventures in Renovating a Brooklyn Limestone for our Adult Halloween party. I'm sending out pop-up invitations for Snuggle Bunny's party and will be sharing how with this easy to follow picture tutorial.
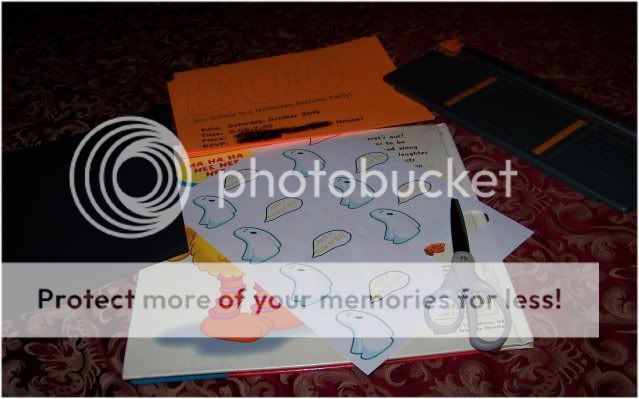
I'd have attached my ghosts and "insides" as a printable download if I had any idea how to do that. If any of you more experienced bloggers know how, please clue me in.
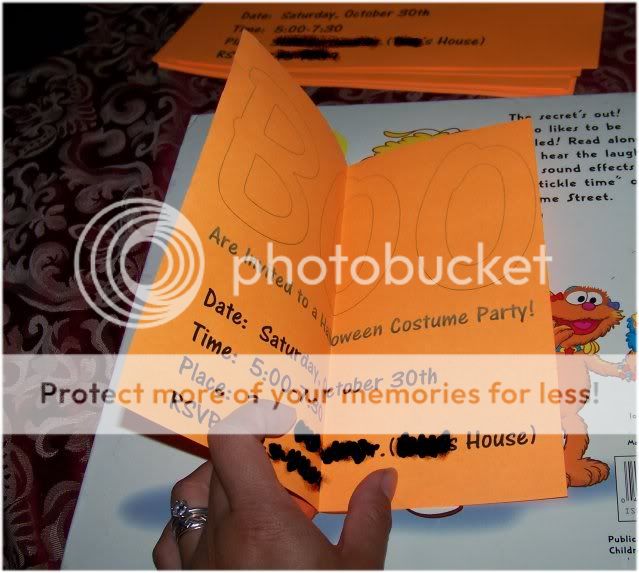
Start by cutting the cardstock down to 10" then in half the long way.

Fold in half to form the shell of the card.

Glue little ghost and word bubble on.(Or draw, or sticker, etc.) Outside of the card is done.

Square up the insides paper, by cutting off 2.5" off the end.

Fold the square in half, so that the fold is through the middle of the "BOO." Crease the fold with your nail or a bone folder or a spare credit card.
Open it back up and fold and crease the square diagonally.

Open it back up and fold the other diagonal and open it up again so that the paper is creased like this.

Fold it again down the middle. Using the creases made by the diagonal folds, fold the upper triangle in. This is known as a squash fold in origami.

Do the same to the bottom.

Now fold the tips of the triangle in towards the center almost, but not quite in thirds.

Squash fold these, too. Then flip the triangle over and do the same to the other side. You'll be left with a luggage tag shaped piece of paper which you'll glue into the outside of the card.
Closed.

And Opened.

This popup card can be adapted for any number of occasions. I hope you enjoyed this tutorial and try it at home.
Please let me know if I could make this tutorial better, or if you know the magic behind being able to add printables. I love learning from other bloggers. I've already learned one thing from this tutorial. "What's that?" you ask. Redacting addresses and phone numbers off of umpteen pictures is way more difficult than doing the tutorial with a blank.
This week I'm linking up to parties at Just a Girl, Tatertots and Jello, Fireflies and Jellybeans, and Somewhat Simple.
That's such a fun invitation! Thanks for the tutorial, have a great time at the party. :)
ReplyDelete